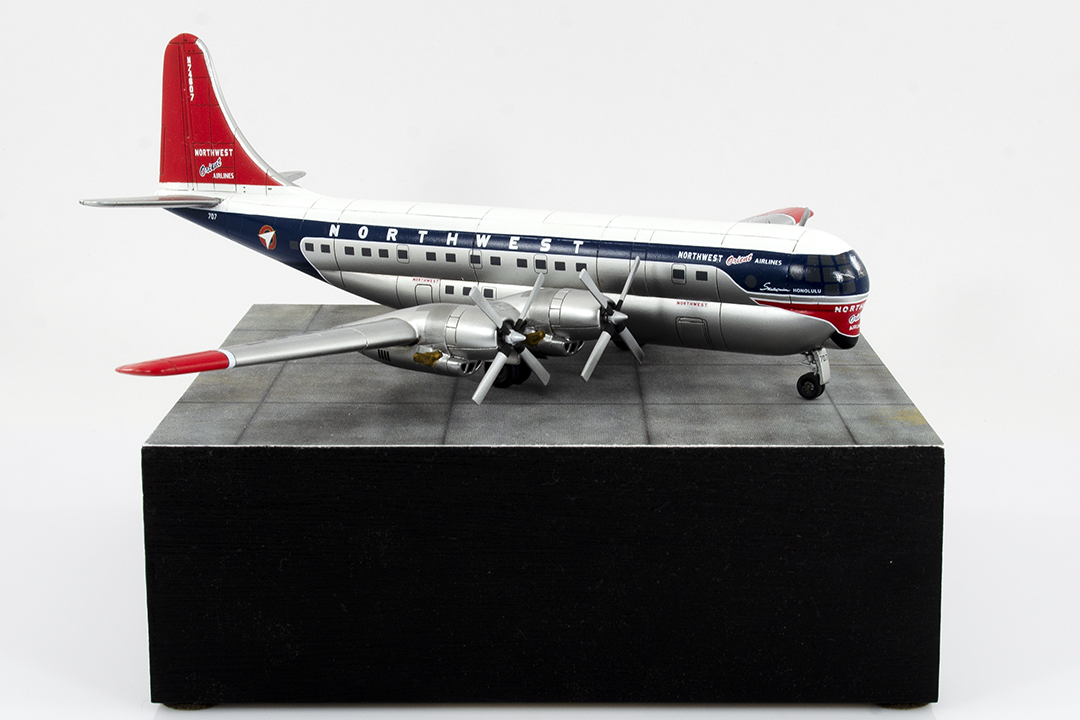
Although not a modern kit by today's standards, I choose to build it as I wanted to do something different from my usual subject matter and I was also drawn to it kits by its more striking Northwest Orient Airlines colour scheme.
The kits assembly was very simple and straightforward, but I knew I would need to add a considerable amount of weight to the nose if it wasn't to be a tail sitter. Despite my best efforts though, as I was concerned about the undercarriages ability to carry any significant weight, my model still ended up being a tail sitter and required a tail prop to be added to support it.
With the model assembled, sanded and rescribed where necessary, the top half of the fuselage, fin and wing tips were then spray with several coats of Tamiya Fine Surface Primer White. The fin and wing tips were then masked and sprayed with Gunze Mr Color Red Madder (C68). Once these areas were dry, they were then masked and the rest of the model sprayed with Mr Finishing Surface Primer 1500 Black. The lower fuselage, wings and tailplanes were then sprayed with a combination of AK Extreme Metal Aluminium (AK479) and Dark Aluminium (AK480).
With the painting finished and masking removed the model was then given an all over gloss coat of Mr Super Clear UV Cut Gloss in preparation for the decals. As I wanted to depict a specific aircraft I choose not to use the kit decals and instead purchased a sheet of Flying Colors decals (FC44-020), which were far more comprehensive. The decals went on without any fuss using Micro Set and Sol and once dry, were sealed in with a second coat of Mr Super Clear UV Cut Gloss.
It was then just a matter of adding the undercarriage, which I'd reinforced with metal pins, and propellers and with that done the model was finished.


